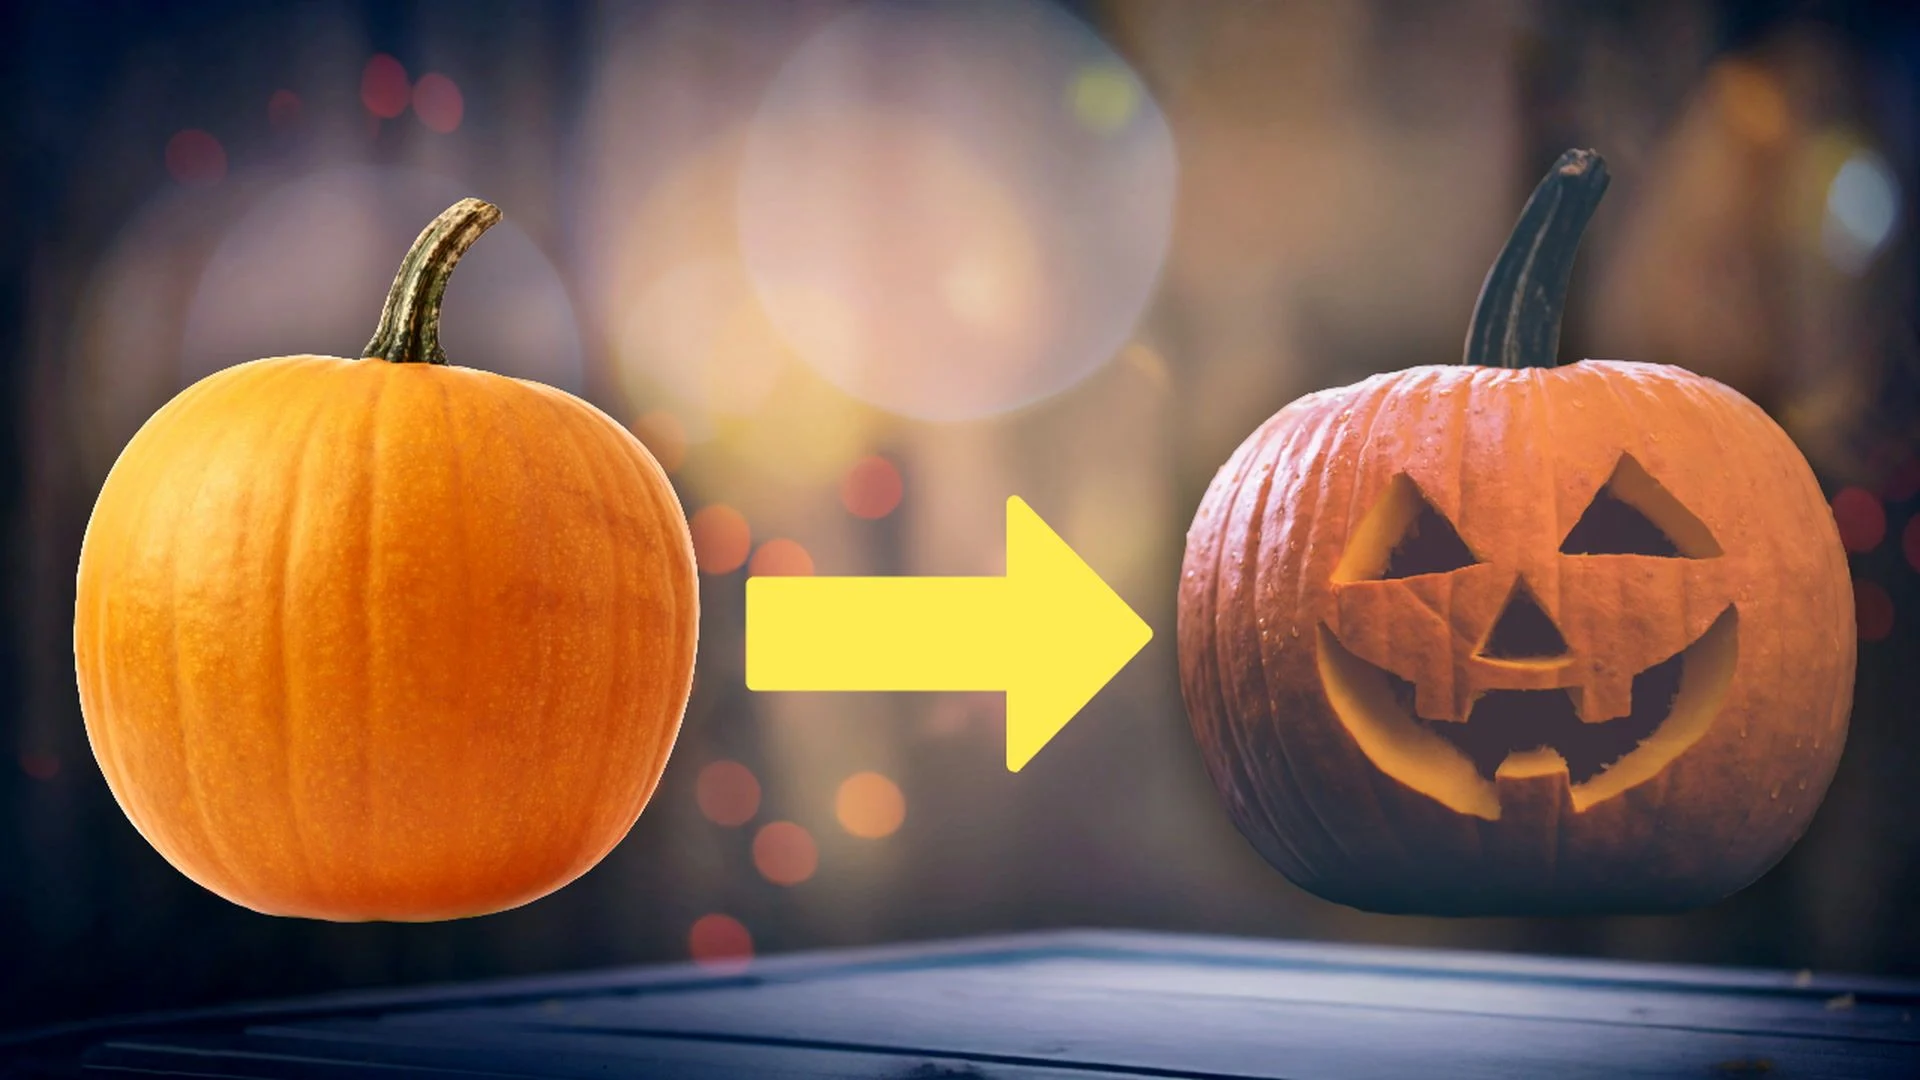
Upgrade your pumpkin carving with these simple tricks

Get ready for Halloween with these incredible pumpkin-carving tips and tricks! Learn how to make the process faster, cleaner, and more impressive. Perfect for DIY enthusiasts and anyone looking to 'spookify' their home.
Fun fact: Pumpkin carving does not start from the top. It’s all about the bottom.
Here’s how to really carve a pumpkin.
Once the bottom is open, get your handheld mixer in there. Then, use an ice cream scoop. That is way more efficient.
Next, map your design out with washable markers, not permanent. It's way easier to clean.
Another tip: Power tools and cookie cutters are great! They can really elevate your design.
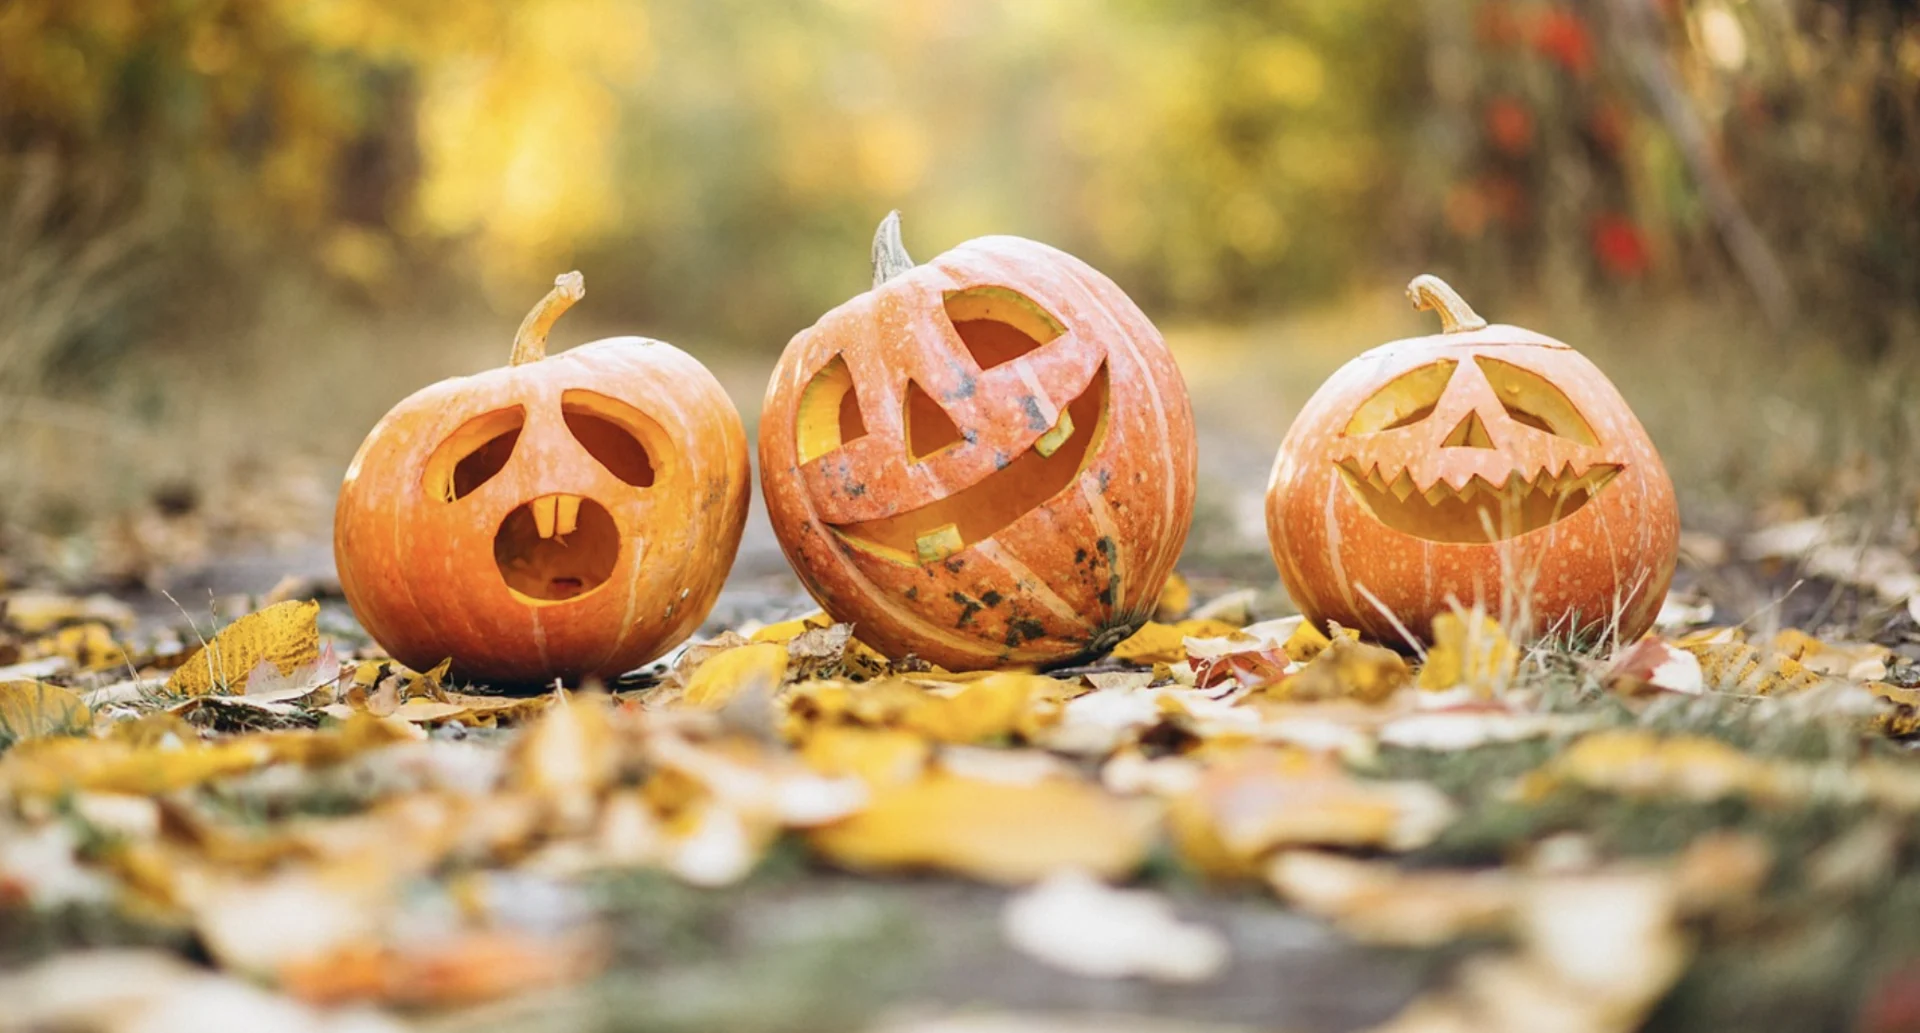
(gadgemayur/Pixabay)
And with some creativity, cut-out shapes can be used in your masterpiece.
Fine lines and designs? Your cuticle cutter will do the trick.
Slow down the drying and rotting process by sealing in moisture. Use petroleum jelly or vegetable oil on all of the cut edges and the inside.
Glam up this year's pumpkin with a few trendy gems.
The wind on Halloween night can often blow out candles. So, instead, use fairy lights.
This year, I am spraying my pumpkin with lavender in the hopes of keeping some critters away.